
💡 Prerequisites
BEPRO Editor Premium

Hello, this is the BEPRO team!
In this article, we'll explore the specific usage methods of pivot tables in the BEPRO editor.
Before Running Pivot Tables

To utilise pivot tables, you must first use the tag function to input tags from various label groups to clips on the timeline. Clips with tags will display a tag icon on the right side.
Please refer to the article below for detailed methods on inputting tags.
How to Use Pivot Tables
1. Running Pivot Tables & Creating Sheets
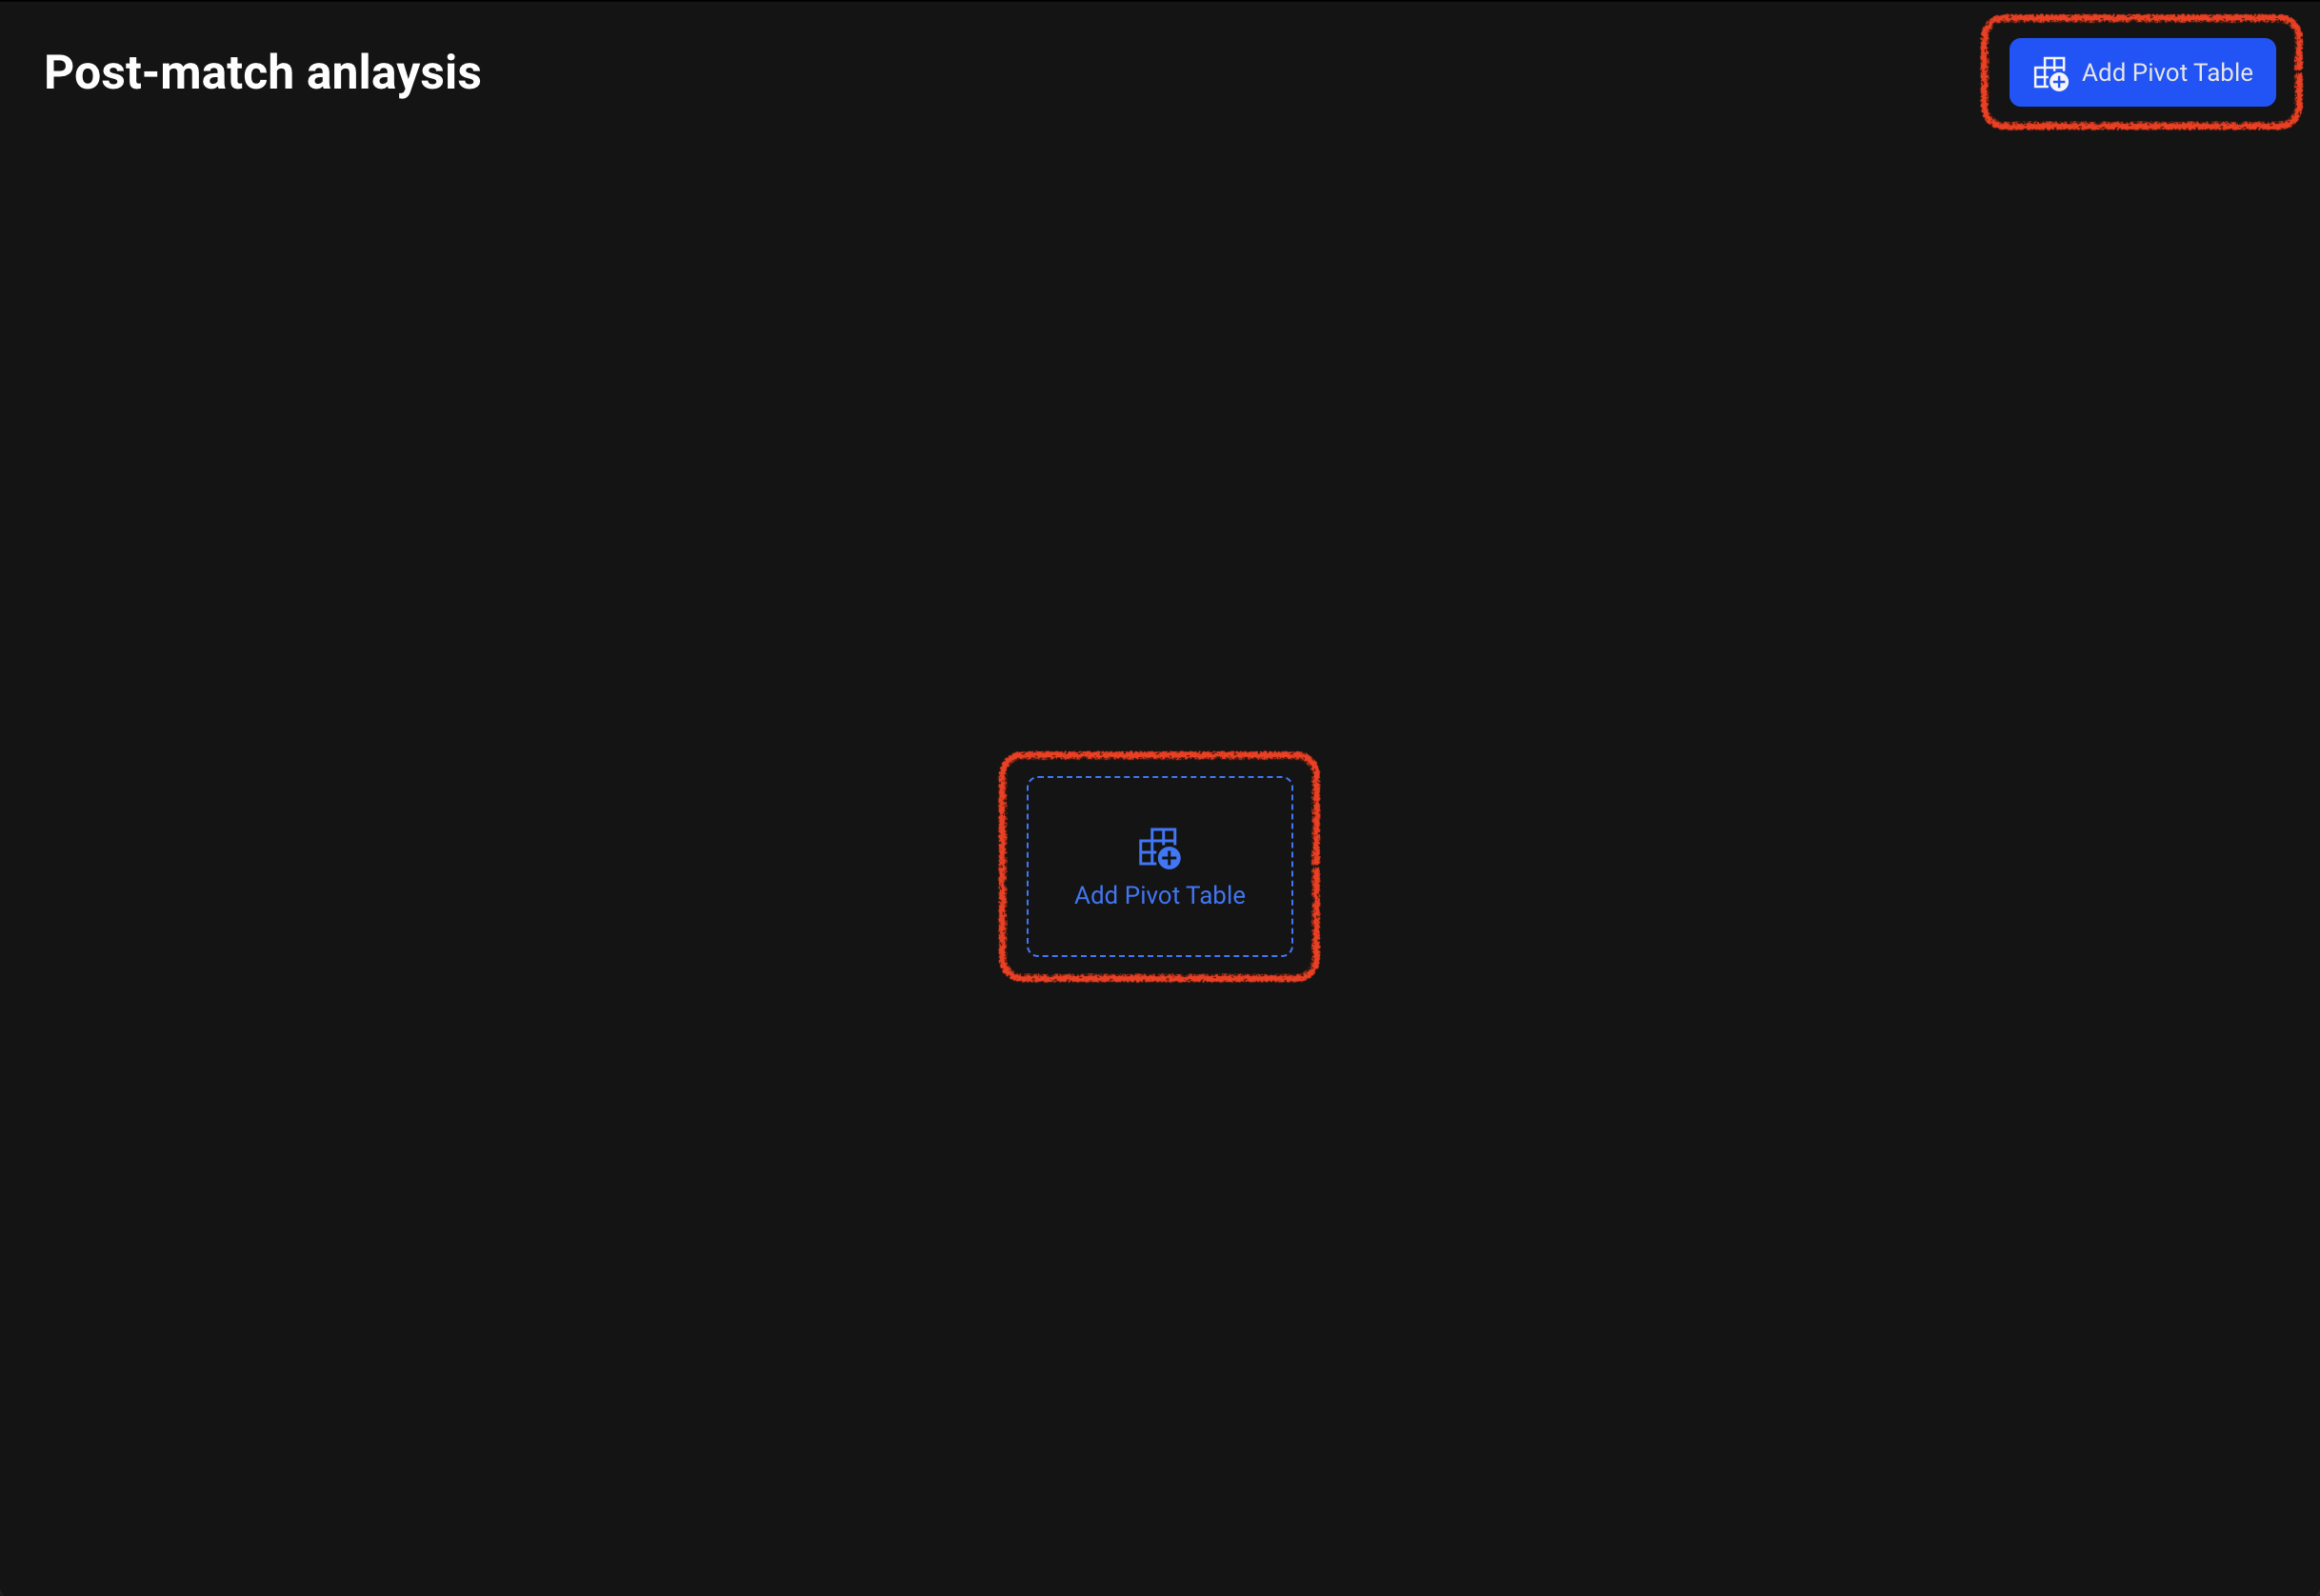
When you click the pivot table button in the right panel, a new pivot table window will appear over the editor project.
If there are no pivot tables, please add a sheet by clicking the add button in the centre or at the top right.
2. Specifying Label Group Rows and Columns
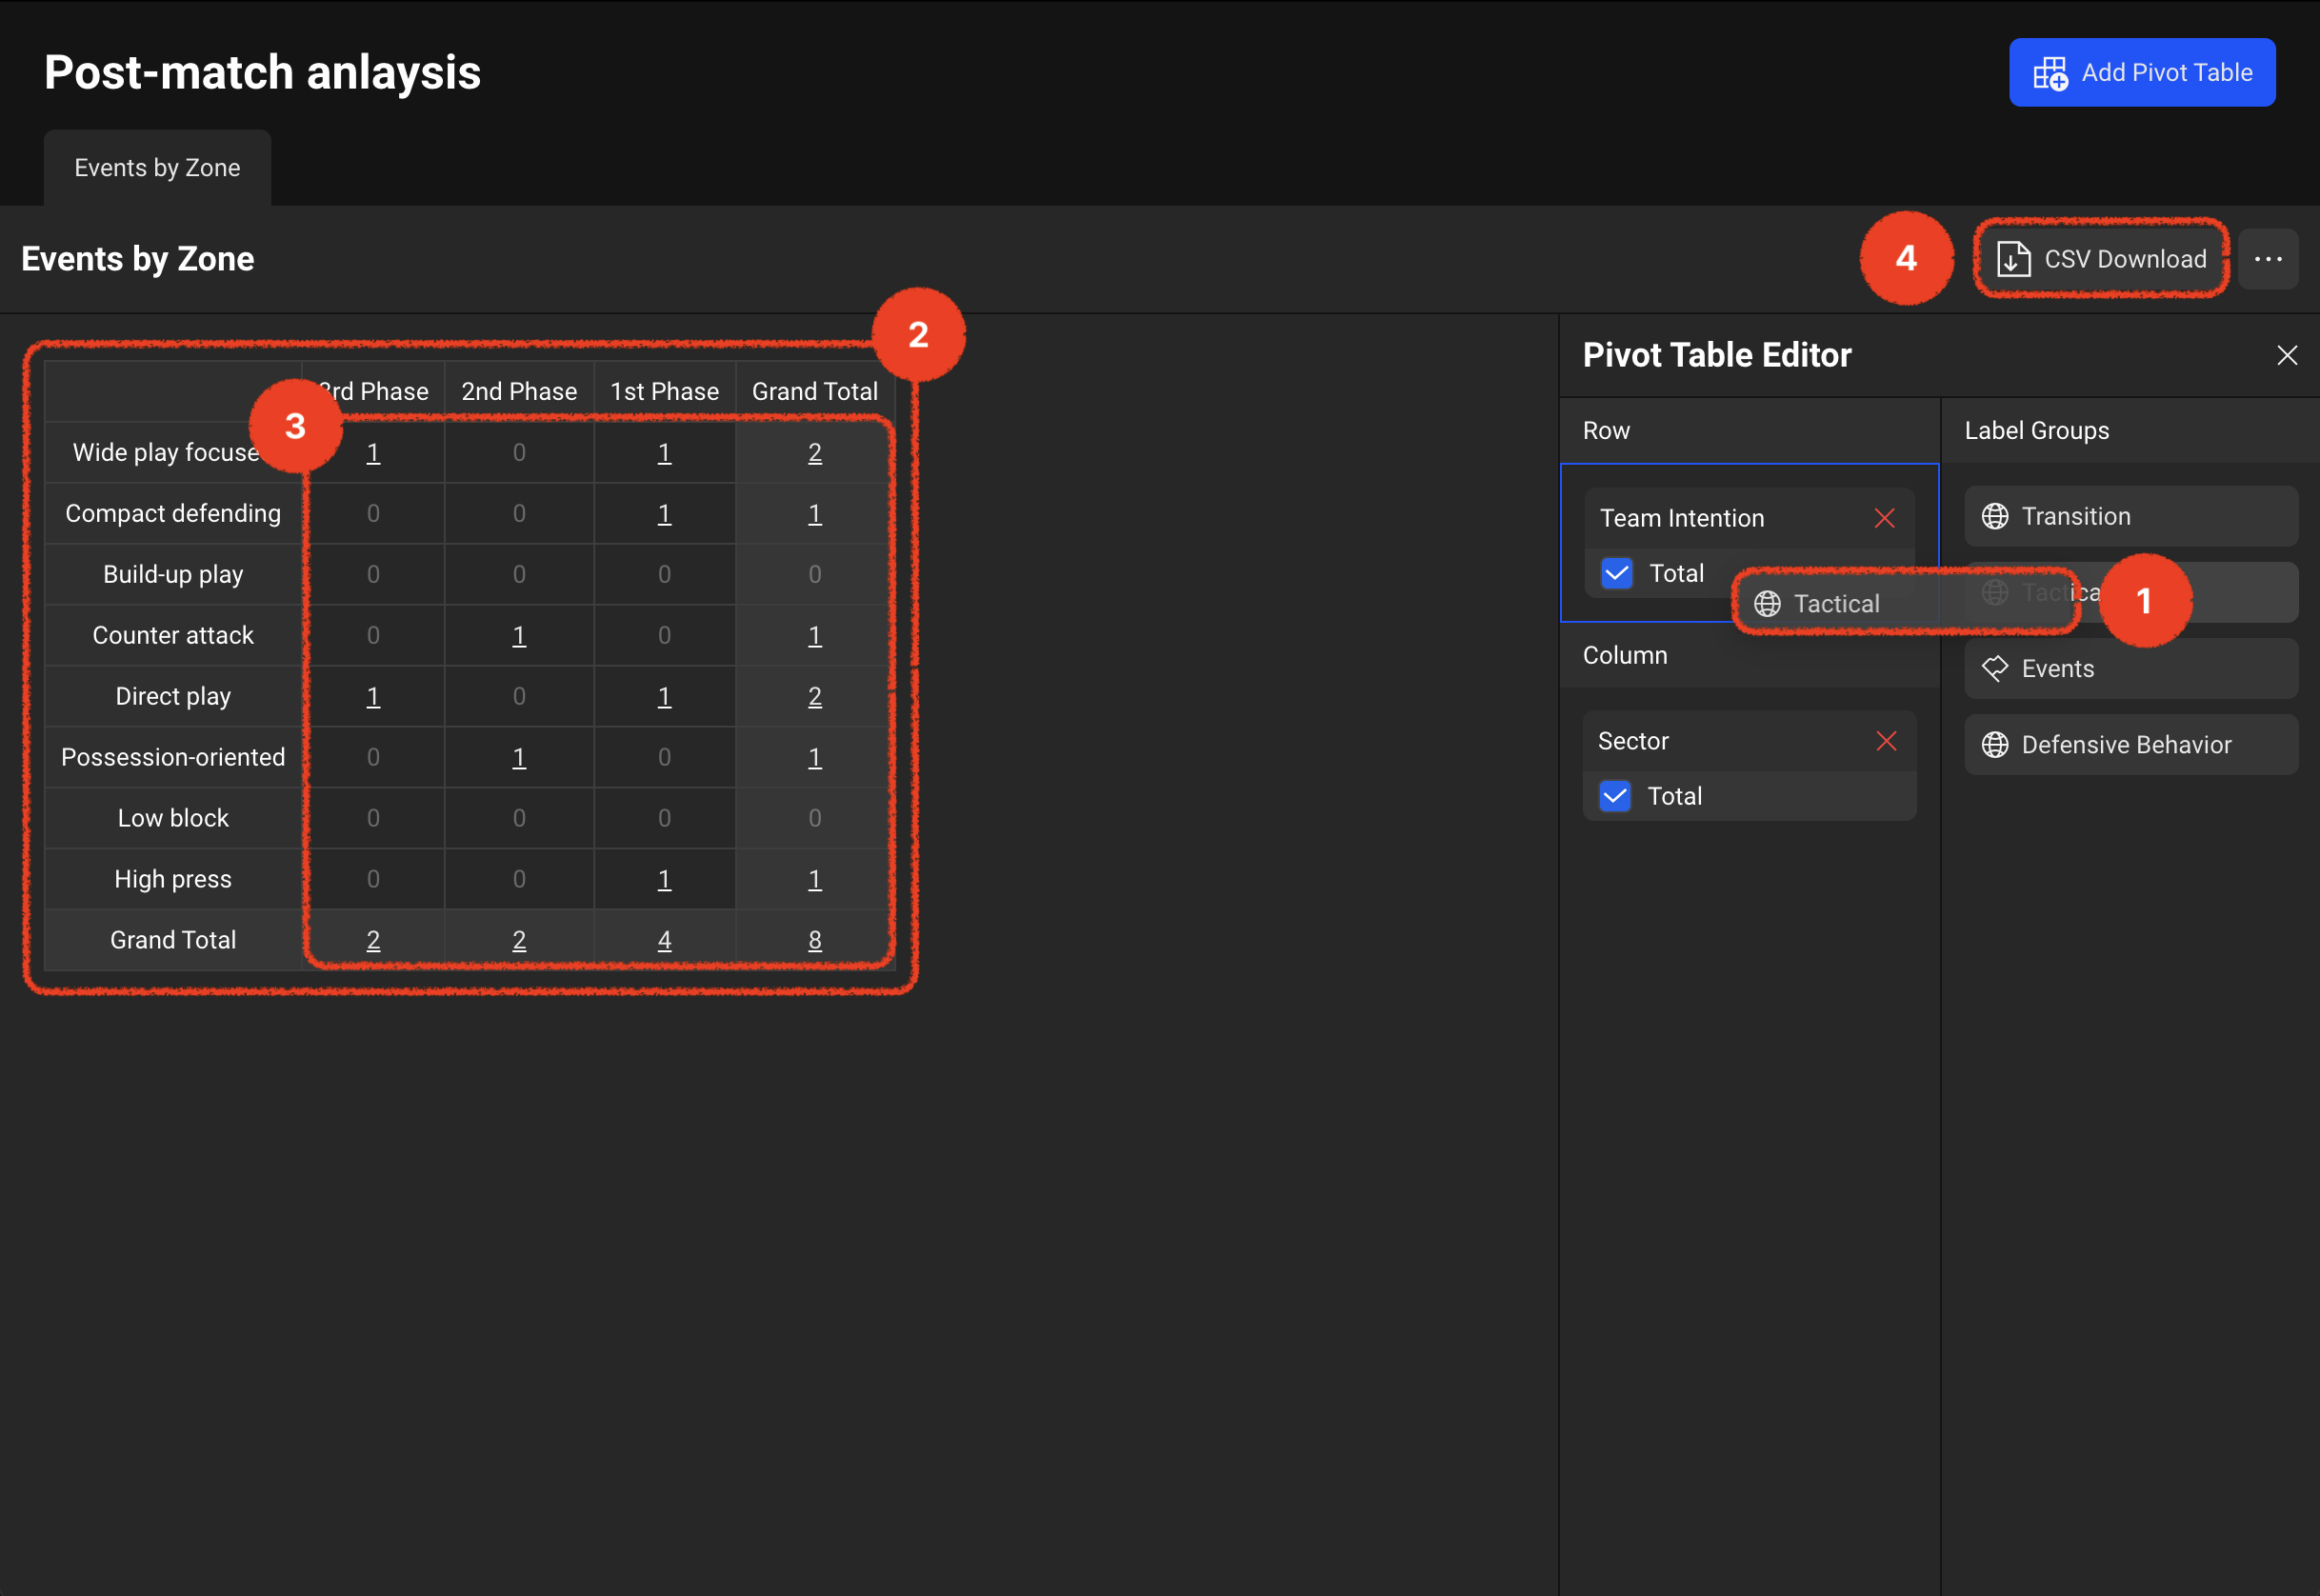
- The label groups from the label window used in the project are listed on the right, and you can drag the desired label group to specify it as a row or column area.
- When you specify label group items as rows and columns, a table is immediately drawn on the left, and the number of clips corresponding to both row and column labels is displayed within each cell.
- By clicking the values within cells, you can immediately check the corresponding clip footage in the project window.
- You can download the table data displayed on the screen in CSV format.
Pivot tables are an extremely powerful feature that provides opportunities to easily view matches analysed through creating numerous clips from various perspectives.
Utilise tags and pivot tables to analyse matches more three-dimensionally and discover new insights!